


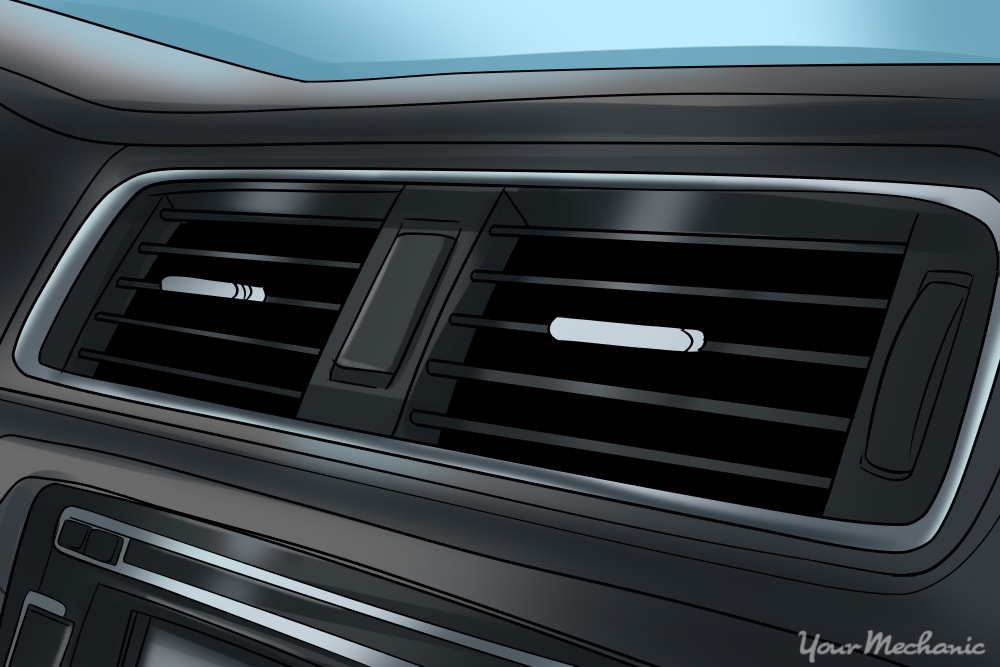
If your car’s加热器似乎不是很好,也许是时候将其冲出了。冲出管在加热器中,芯将使冷却液更容易流动,因此总有温暖的冷却液以加热进入机舱的空气。自从您上次更改冷却液以来已经有一段时间了,这尤其如此,因为所有堆积最终都可以最终进入加热器核心。
加热器芯的构建类似于散热器他们做同样的工作:将冷却液中的热量转移到散热鳍的空气中。通常位于乘客侧的仪表板内,将有一个阀门控制的软管,可调节进入加热器芯的冷却液。另一个试管是将冷却液回到冷却系统的返回线。
对于这项工作,您需要花园软管和自来水。制作适配器,使您可以将水泵入加热器芯以清除并去除任何沉积物。如果水不足以清除所有沉积物,则需要使用一些散热器清洁剂,然后将其浸入加热器芯内。
Part 1 of 3: Setup
Materials Needed
- ¾英寸倒钩安装适配器
- Bucket
- 清除管
- 园艺软管
- 手套
- 钳
- Rags
护目镜
笔记: We’ll be making our own adapter so that we can feed fresh water into the heater core. Before you go and buy the materials, you need to figure out what size hoses are used to feed coolant into the heater core. You can find this information online or by referring to the vehicle’s repair guide.
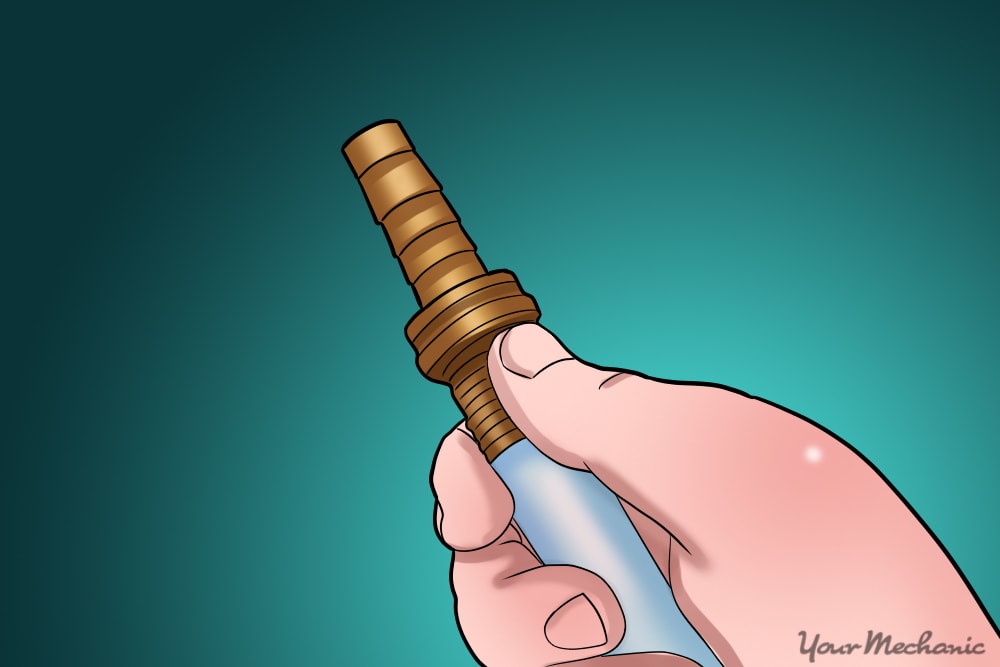
步骤1:螺钉上适配器并连接管道的短截面。这将连接到加热器芯的插座上,因此您可以扭转流动方向以松开任何沉积物。
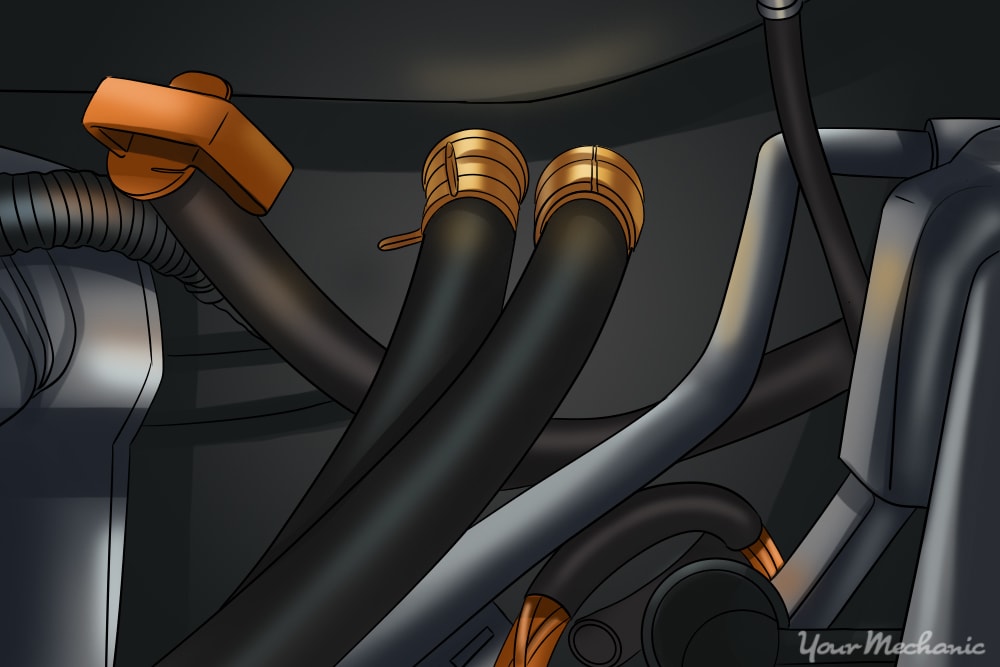
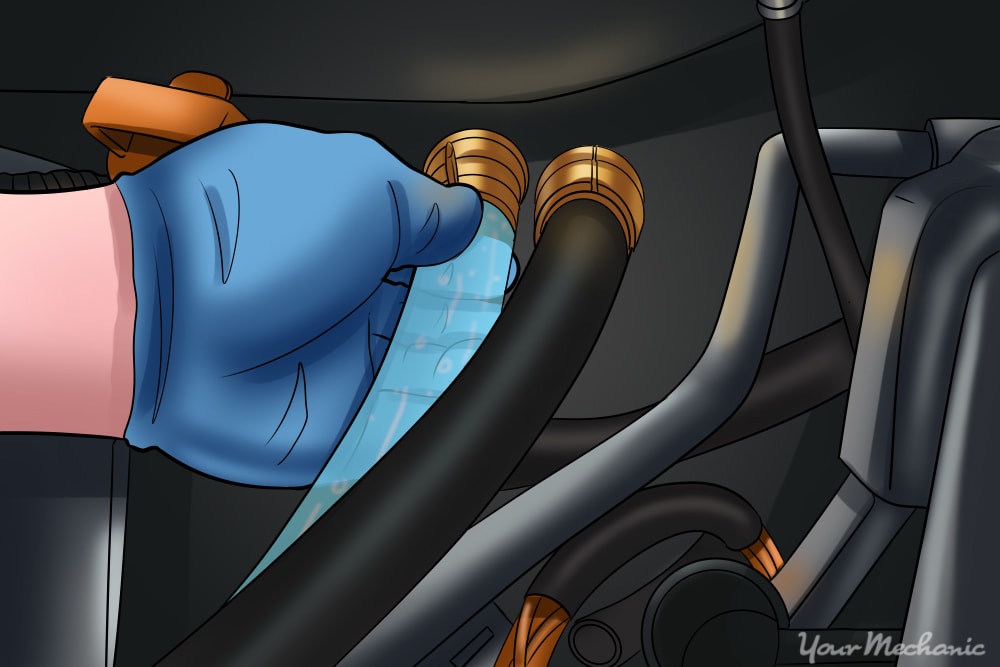
步骤2:找到加热器核心软管。寻找直接进入防火墙的2个相当厚的软管。
防火墙是车辆内部和发动机舱之间的金属壁。管通常位于乘客的侧面,因为这通常是加热器核心位于仪表板内的地方。
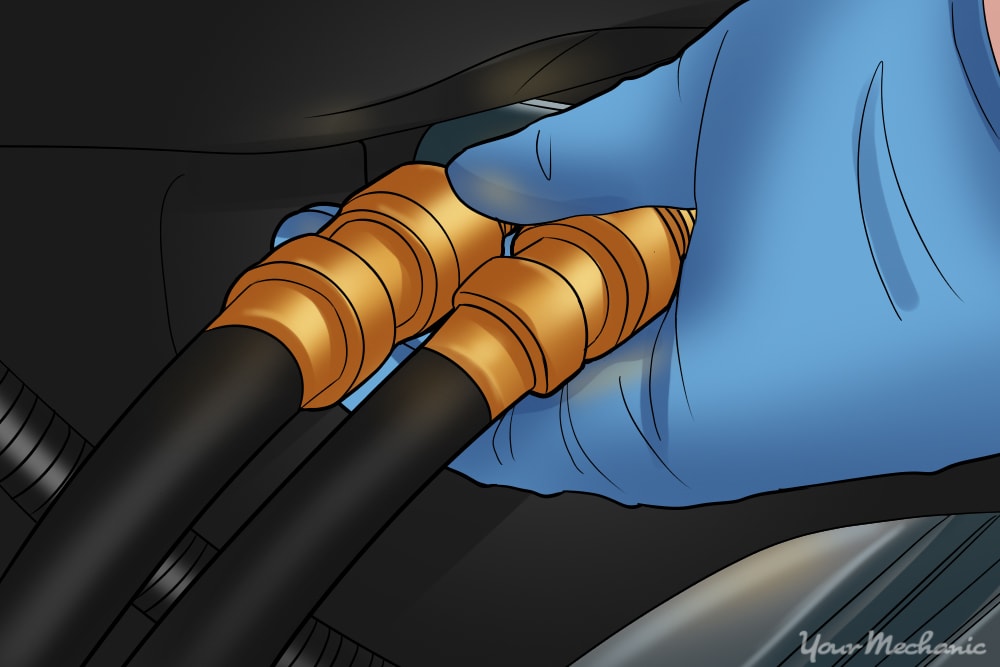
Step 3: Identify inlet and outlet hoses to heater core。The inlet hose may have a heater control valve which regulates the amount of coolant flowing into the heater core.
出口软管通常会在流过加热器芯后返回冷却液,直至散热器或冷却系统储层。
- 提示:如果您在弄清楚哪个是在发动机变热的情况下弄清哪个是哪一个,请一直将热量升起。入口软管将热冷却液进入加热器芯,然后将空气变暖到机舱中。
步骤4:确保引擎很冷。确保发动机已经坐了几个小时,以免冷却液太热。
在冷却液仍然很热的同时,打开冷却系统非常危险,因为它可以开始沸腾和蒸。
第3部分的第3部分:卸下软管
- ¾英寸倒钩安装适配器
- Bucket
- 清除管
- 园艺软管
- 手套
- 钳
- Rags
- 护目镜
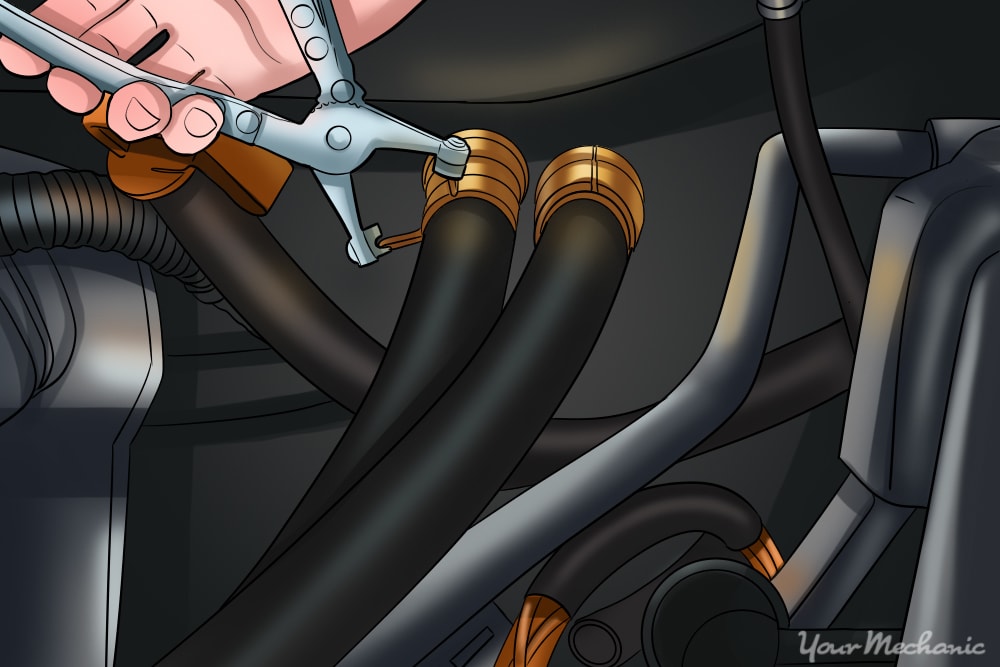
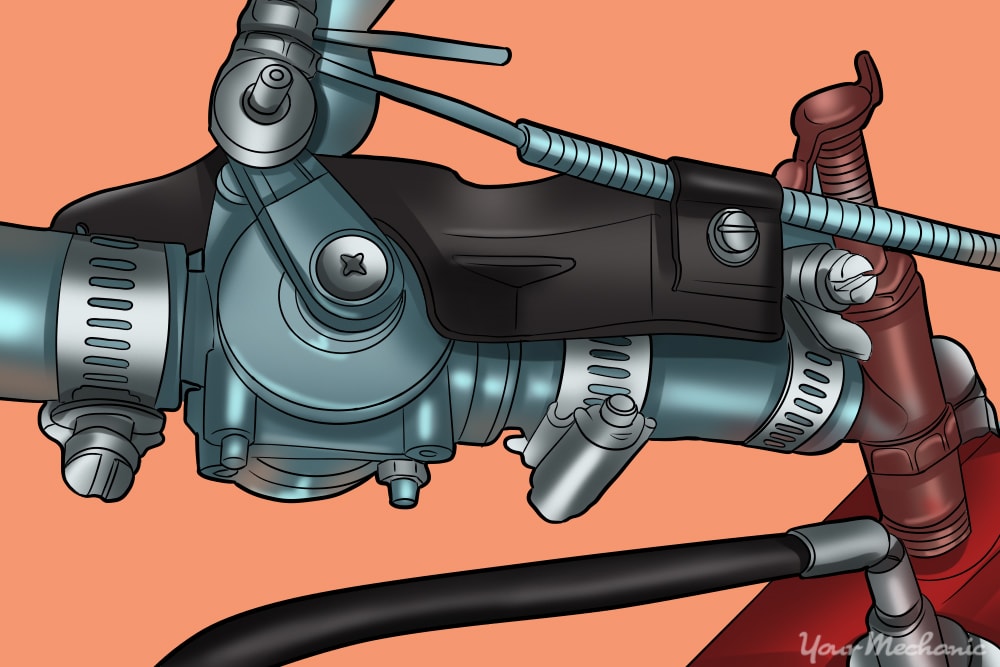
步骤1:使用钳子并拉回金属软管夹。将它们拉回几英寸,以便我们可以卸下软管。
- 提示:如果夹具难以向后拉动,您可以喷出一点硅酮润滑剂以帮助它们移动。
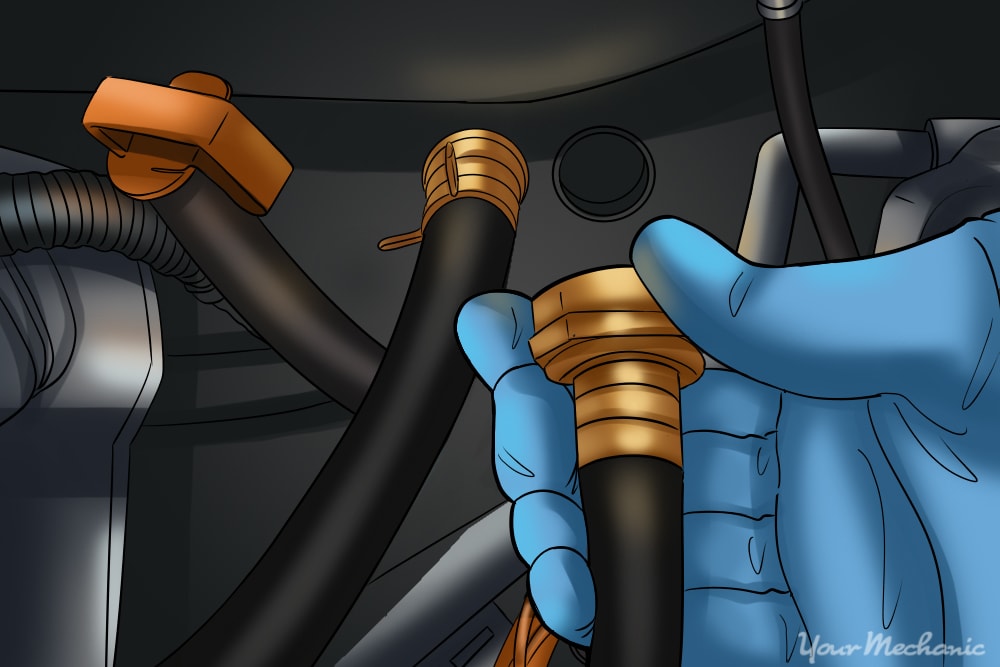
Step 2: Remove heater core outlet hose。慢慢地来回扭动软管,同时拉出插座。
注意不要损坏出口端口,否则您必须更换整个加热器核心。如果软管是旧的,并且被塞在出口端口上,则可能必须更换软管,因为它可以卸下它,可能会损坏密封件。
Liquid will most likely come out as well so have the rags ready to clean up any spilled coolant.
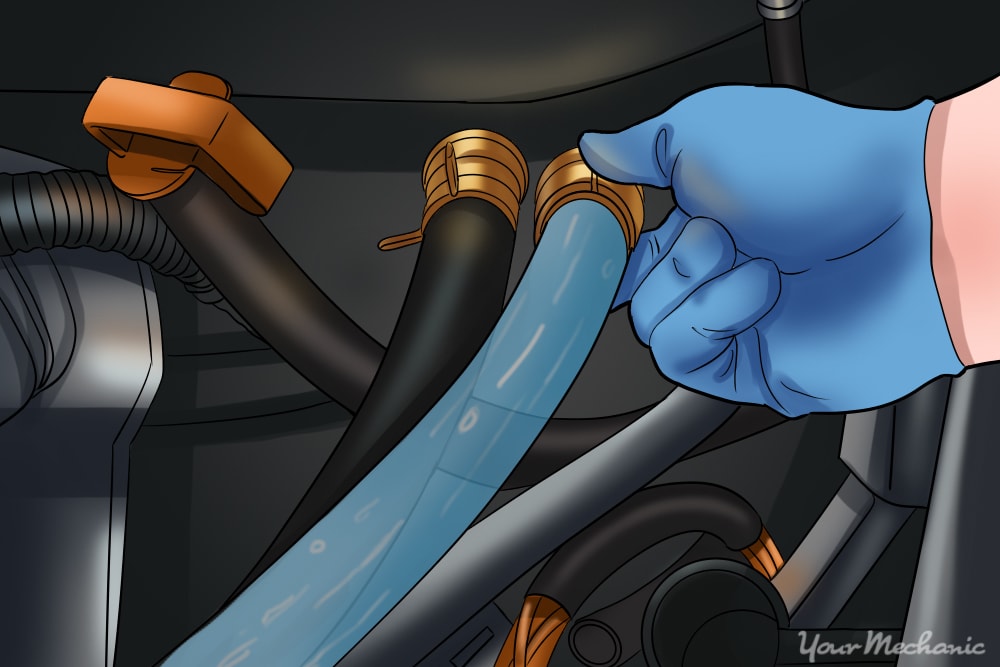
步骤3:将花园软管连接到出口。借助适配器和管道,我们将能够直接将淡水泵入加热器芯以将其洗净。
在插座上放置大约一英寸左右的管道,以制成一个不错的水密密封。
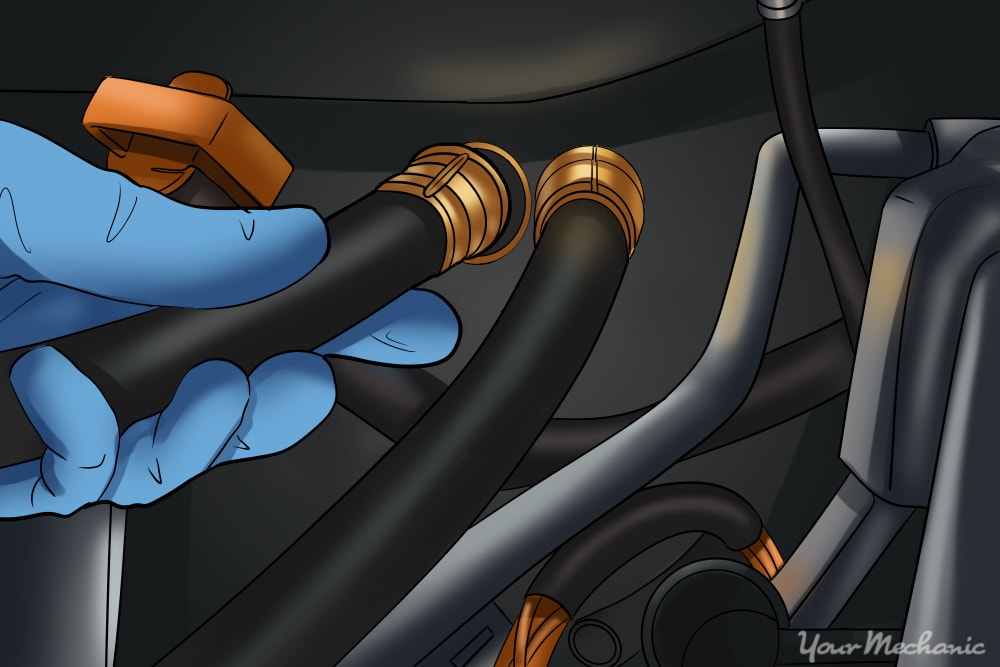
Step 4: Remove heater core inlet hose。Same as the outlet hose, gently twist and pull the hose off.
准备好一些更冷却液出来的。
步骤5:将管子的较长部分连接到加热器核心入口。在水桶中有另一端,以收集从加热器芯出来的冷却液和沉积物。
- Warning:当有冷却液时,请密切注意水桶,以免溢出。切勿将冷却液或任何类型的汽车流体倾倒在排水管上。始终以正确的方式处理旧液体。这些化学物质对环境不友好。
第4部分4:冲洗加热器核心
Step 1: Turn on the water。Don’t turn the water on all the way; usually a quarter to half of a turn from fully closed is enough.
Most heater cores can only handle about 10 psi of pressure whereas the typical garden hose can supply around 40 psi. Turning the flow up too high can rupture the heater core and then you’ll need to replace the whole unit.
Step 2: Keep flushing until the water coming out is clear。当从加热器芯出来的水像水一样清晰时,加热器芯就被冲洗了。
由于加热器核心内部没有太多音量,因此不应花费太长时间。如果流出的流程受到限制,则可能会有堵塞,您需要采取一些额外的步骤将其删除。
步骤3:切换软管并冲洗。Set up the garden hose to pump into the inlet of the heater core and have the drain pipe on the outlet.
由于您只是用第一个冲洗逆转了流动,因此您可以正常的流动方向尝试松开沉积物。打开水,像以前一样冲洗系统。如果此移动到下一部分之后,流量很好,否则请尝试下一步。
步骤4:切换软管并再次冲洗。我们将再做一个反向的冲洗,以尝试去除沉积物。
If 3 flushes with water doesn’t fix the clog, then you’ll need to use some radiator cleaner.
Step 5: Unplug the garden hose and adapter from the short piece of tubing。Leave the clear tube attached to the heater core and pour in some radiator cleaner.
让它静置30分钟。
- 笔记:确保您使用的清洁剂适合铝和汽车使用。家用化学物质会损坏加热器核心并在铝制食用。
步骤6:用水冲洗散热器清洁剂。Run the water through the heater core to thoroughly rinse out the radiator cleaner.
第4部分,共4部分:将所有内容放回原处
Materials Needed
- 手套
- 钳
- Rags
- 护目镜
步骤1:断开加热器核心的透明管。您可以将水放在加热器芯内。
这还不足以显着影响冷却系统内的抗冻结和水的50/50混合物。
- 笔记: If you have some 50/50 mix lying around, you can add it with the clear tubes still attached to fill the heater core with fresh coolant. It isn’t really necessary to buy a whole new jug just to do this though.
Step 2: Reconnect the heater core hoses。Make sure to install them the correct way, since having them reversed can cause the heater to not function properly .

步骤3:将软管夹回到原位。Use the pliers again and resecure the clamps over the inlet and outlet to seal them.
步骤4:确保已清理任何溢出的抗冻结。检查驱动带,以确保它们没有任何水或抗冻结,因为这会导致皮带滑动。
步骤5:启动引擎并进行短期测试驱动器。将热量转到全爆炸中,使冷却液开始流入加热器芯。
发动机持续了一点点,并且从通风孔出来了温暖的空气,请检查软管是否有泄漏,因为我们刚刚卸下并更换了它们。
清理加热器芯后,汽车现在应该快速加热。减少沉积物量的一种好方法是定期冲洗冷却系统。如果冲洗无助于加热器,那么您机械认证的技术人员之一将很高兴为您提供帮助万博体育入口identify the issue。


