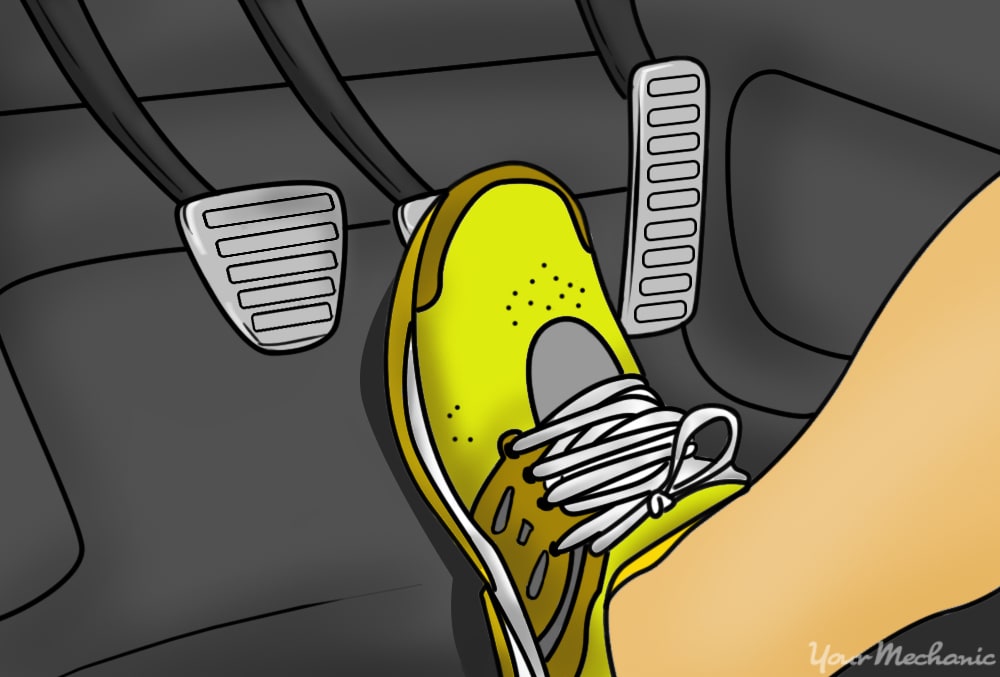
没有什么比吵闹的刹车更烦人的事情了。您在街上开车,需要停下来。您将制动器施加速度降低车辆,并看起来:尖叫,尖叫,磨碎,磨碎或其他任何其他噪音。这种噪音可以吸引周围每个人的注意力,使您想在座位上懒散并躲藏起来。当您知道刹车相当新并且不需要更换时,它可能会更令人不安。如果制动器状态仍然良好,则可以修复它们以消除噪音而无需更换制动器。
第1部分,共8:是什么导致制动器发出噪音
您的刹车会出于多种原因而发出噪音。两个都鼓制动器and盘式制动器由于以下任何原因,都可能吵闹:
Reason 1: The brakes are worn out。如果刹车片或鞋子上的垫子材料是在指定限制以下穿着,,,,they can make noise.
如果制动垫材料较低,则会导致过量的热量在制动系统中堆积,从而导致玻璃。这会导致垫子和转子或鼓变得硬化和光泽,从而导致噪音。
低垫也可以使许多垫子上的磨损传感器接触转子,从而引起高倾斜的尖叫声。如果制动垫材料完全消失,这将引起磨损的噪音。
原因2:脏刹车。如果光盘和鼓式制动系统非常脏,这可能会引起噪音。
制动灰尘以及其他道路污染物可能会引起不均匀的制动器应用,从而导致噪音。当制动灰尘被困在鼓中时,这最常见于鼓式制动器。
Reason 3: Improper brake pads were installed。如果错了制动材料was used, then this can cause noise.
刹车需要更换如果是这种情况。
Reason 4: Lack of lubrication。安装时制动器未正确润滑。
原因5:刹车变得太热了。热量会导致制动器釉面并发出噪音。
如果车辆过度驾驶,或者鼓制动器未正确调整,则可能发生这种情况。
如果刹车磨损,或者使用了错误的制动材料,则必须是制动器更换根据制造商的建议。
第8部分,共8:准备在刹车上工作
在开始工作之前,拥有所有必要的工具和材料将使您更有效地完成工作。
需要的材料
- 艾伦(Allen)和Torx头插座
- Brake cleaner spray
- 一字螺丝刀
- 地板杰克
- Jack stands
- 钳(可调节)
- 砂纸(800砂纸)
- Silicone brake grease
- 带标准和标准插座的棘轮
- 扭矩扳手
- 轮锁
- Wire brush
- Wire hanger
Part 3 of 8: Identifying the location of the noise
重要的是要确定噪音来自哪个车辆的角落。您将需要一个助手来做到这一点。
步骤1:让您的助手在不忙的街道上驾驶车辆。站在路缘上,让您的助手开车在您的位置上,并施加刹车。
仔细观察噪音的位置。
You may need your assistant to drive the vehicle in both directions to listen to both sides of the vehicle.
一旦确定了噪声是从前刹车还是后制动器发出的,就可以进行维修。确保您所做的任何工作都是在车辆两侧完成的。(例如:如果噪声来自右侧,请确保在左侧的任何维修也要进行)
第4部分,共8:准备车辆
步骤1:将车辆停在平坦的硬表面上。Make sure the transmission is in “Park.”
步骤2:将车轮夹在轮胎周围,将留在地面上。
步骤3:松开凸耳螺母¼绕要卸下的车轮。
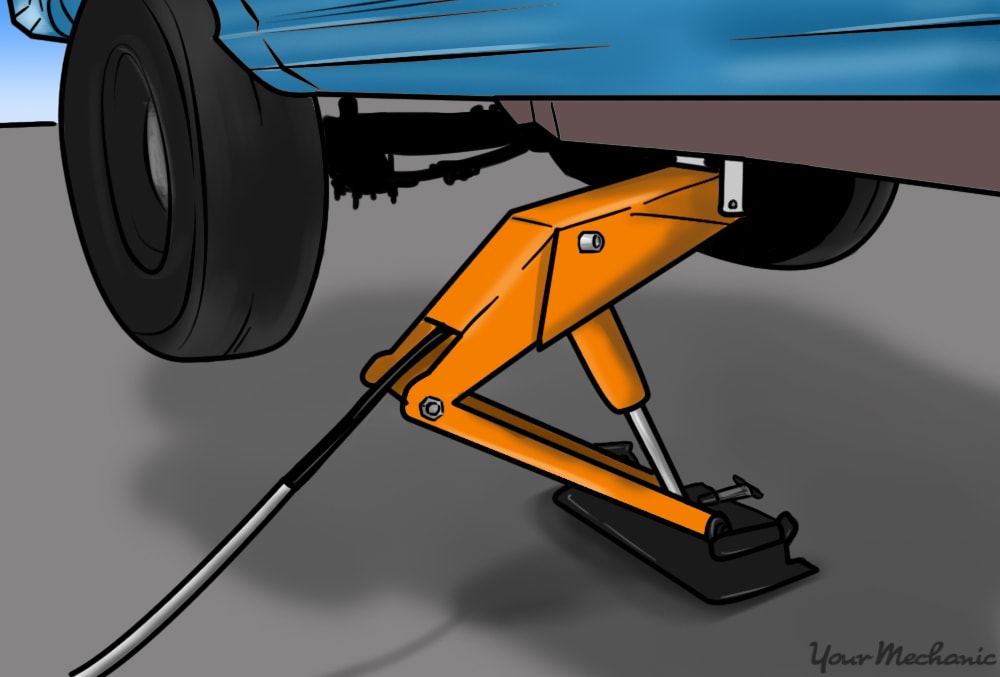
Step 4: Raise the vehicle。Using the floor jack, lift the vehicle at its specified jacking points until the wheels are off of the ground.
Step 5: Place the jack stands。杰克的立场应该在千斤顶的位置。然后将车辆降低到它们上。
步骤6:卸下凸耳螺母并卸下车轮。
第5部分,共8:嘈杂的盘式制动器
Step 1: Remove the two caliper mounting bolts。使用棘轮和适当的插座。
- 提示:如果安装螺栓旋转使用载玻片,则可能有必要将卡钳滑梯固定在适当的位置。
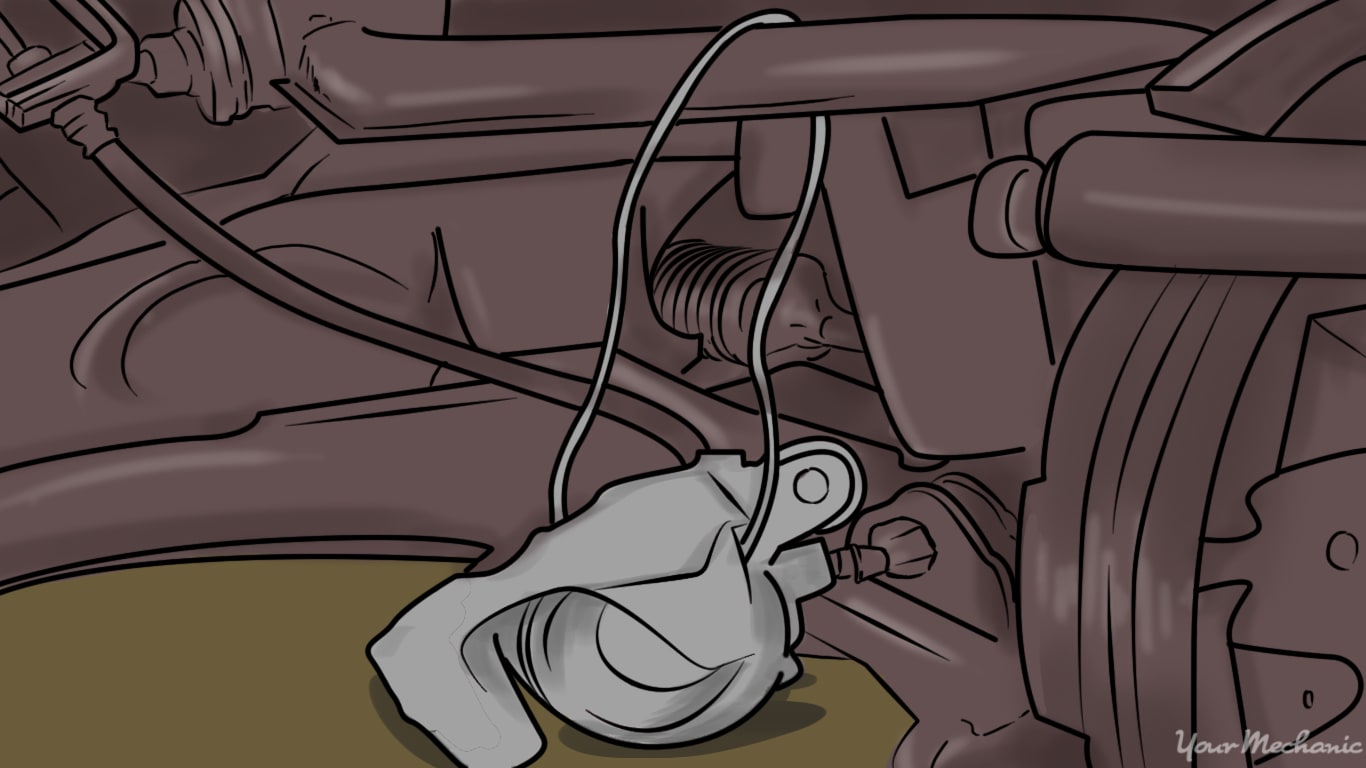
步骤2:用金属丝吊架将卡尺悬挂在悬架上。Make sure that there is no tension on the brake hose.
Step 3: Remove the brake pads from the caliper or from the brake pad bracket。
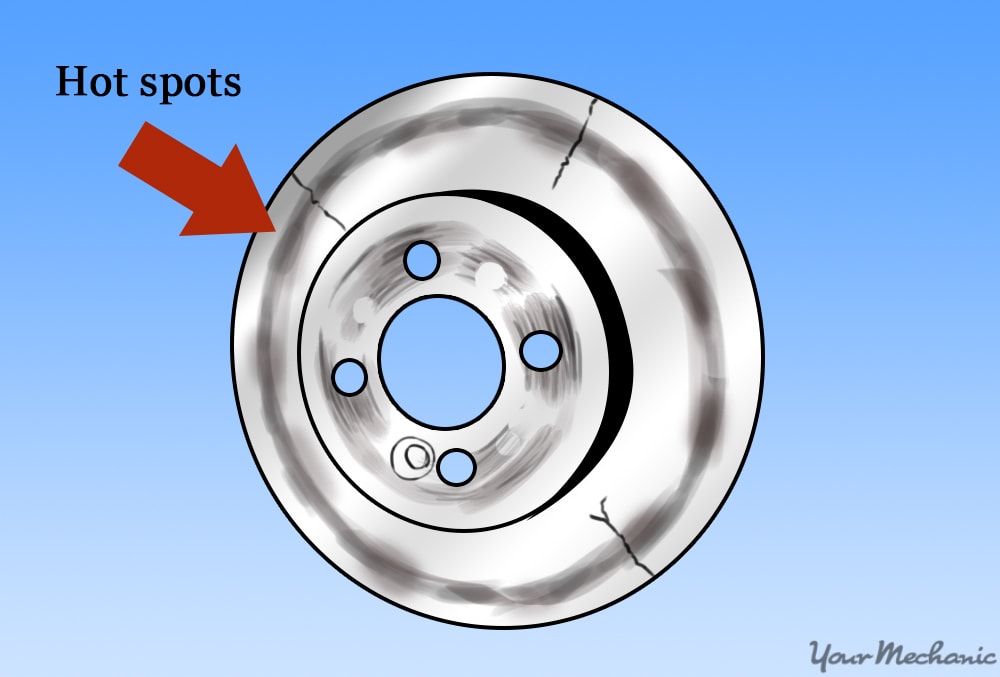
步骤4:检查刹车片和转子是否有任何裂缝或热点。如果它们在场,则必须继续更换制动器。
步骤5:打磨刹车片。Using the 800-grit sandpaper, evenly sand down the friction surface of the brake pad.
步骤6:用刹车剂清洁刹车片。让它干燥。
步骤7:清洁制动区域。Using the wire brush clean the brake pad mounting surface and brake pad clips.
Step 8: Lubricate the brakes。在制动垫的背面和刹车片夹上涂一层薄层硅刹车油脂。
Step 9: Reinstall the brake pads。
Step 10: Reinstall the brake caliper。卡尺安装螺栓的扭矩为规格。
第6部分,共8:嘈杂的鼓式制动器
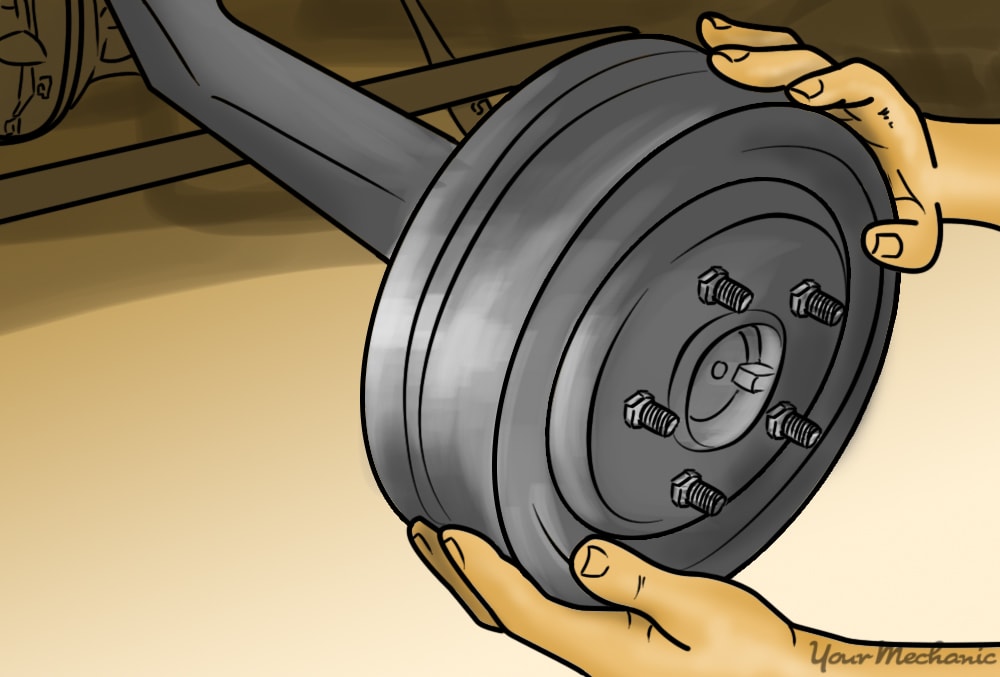
Step 1: Remove the brake drum by pulling it from the hub or axle。如果鼓无法滑落,请用锤螺栓之间的锤子将其撞击,以将腐蚀松动。
不要撞到凸耳螺柱。
- 提示:一些制动鼓需要将轴承拆除并重新安装。遵循制造商的说明,说明如何打包和调整车辆上的轴承。
步骤2:从鼓上清空制动灰尘。将灰尘放入合适的垃圾箱中。
- 警告:卸下制动鼓时,您可能会得到空降的刹车灰尘。尽量不要吸入这种制动灰尘。

步骤3:清洁刹车。使用制动清洁剂,彻底清洁鼓式制动鞋和硬件。
步骤4:打磨刹车鞋。Using the sandpaper, sand down the brake shoe friction material evenly until it is smooth.
Step 5: Spray cleaner on the brake shoes again。使用制动清洁剂,再喷一次制动鞋,让它们干燥。
Step 6: Install the brake drum。If the brake drum fits loosely or if it can be easily turned without any drag, then the drum brakes need to be adjusted as described below.
- 笔记:并非所有的鼓式制动器都是可以手动调节的。

调整鼓制动器:
卸下制动鼓。
找到制动调节器。它看起来像带有牙齿的轮子。
使用平头螺丝刀,转动齿调节器。它只能朝一个方向旋转,并且在转动时应单击。
Turn it only a few clicks at a time, reinstalling the brake drum between intervals.
- 重复此操作,直到您感觉到少量的刹车鞋接触刹车桶。
第7部分,共8:完成服务
步骤1:重新安装车轮。Tighten the lug nuts in a star pattern until they are snug.
步骤2:将车辆降低到地面。
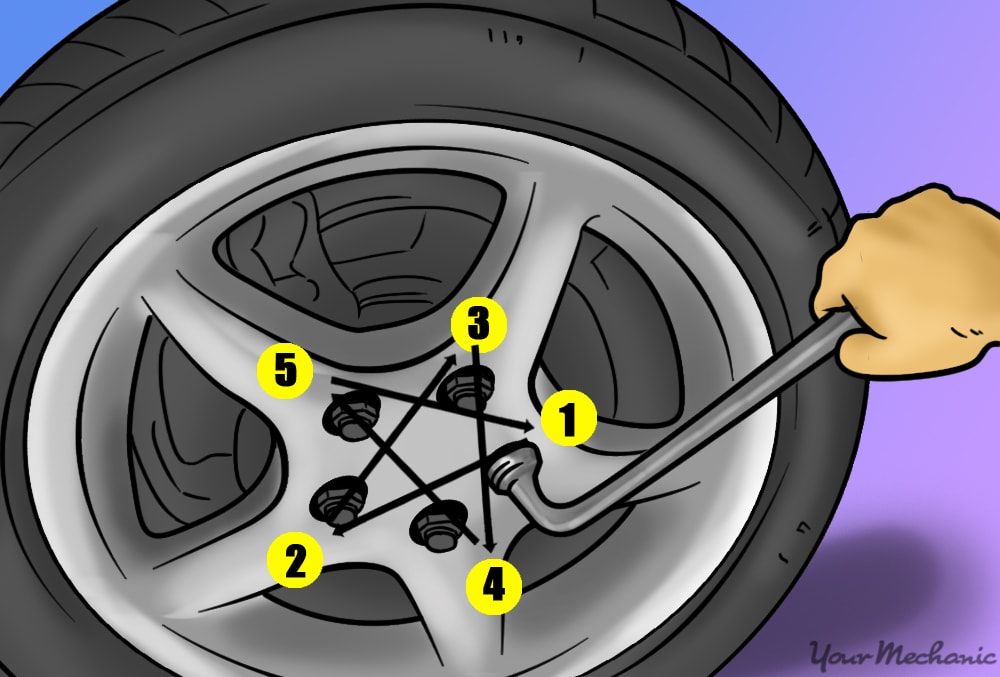
步骤3:完全拧紧凸耳螺母。使用恒星图案,将凸耳螺母扭矩为制造商的规格。
步骤4:测试刹车。驾驶车辆并确保制动器正常运行。
第8部分,共8:如果问题继续
如果制动噪声继续或返回,那就表明了不可预见的问题。
刹车需要进一步检查并且可能需要replacement。
可能还有另一个根本问题,例如hub bearing,,,,axle,甚至是传播problem.
如果问题持续存在,那么您应该寻求一名经过认证的机械师的帮助检查您的刹车并诊断问题。
